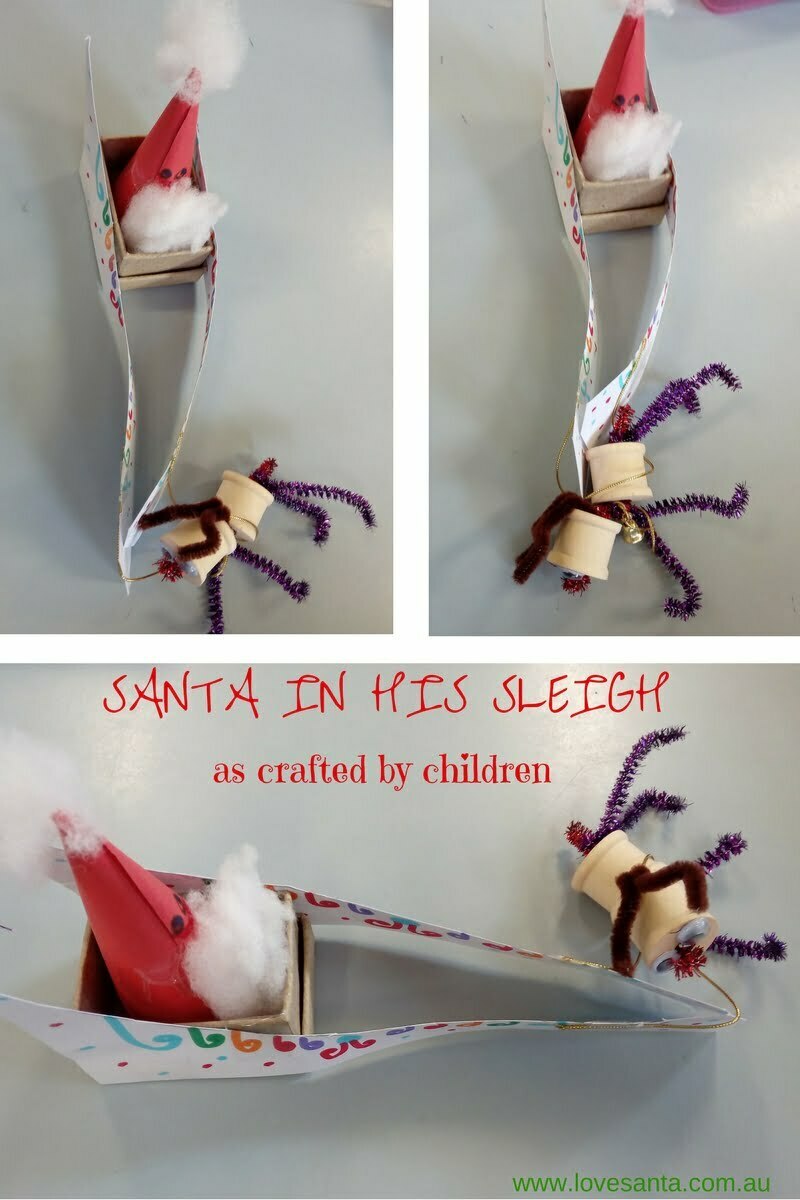
Last Christmas, my daughter’s grade 1 class made some Santa sleighs and reindeer in their art classes. I think they are very cute, and a clever idea on the part of their teacher.
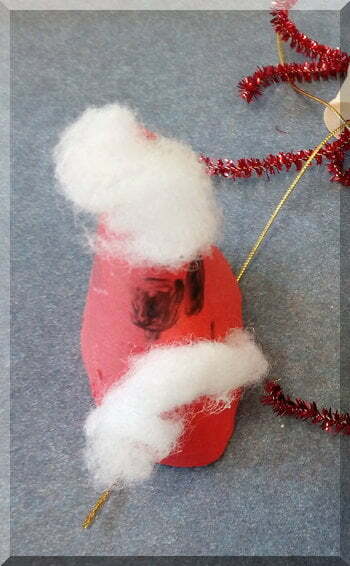
I love the Santa face and beard some of the children created! The reindeer are very cute but don’t really stand up very well unfortunately – you need something stronger than pipe cleaners really.
As this could also be a great craft activity for Christmas in July (and craft in the upcoming winter school holidays may be a good choice!), here is my break down of how to make Santa and his sleigh.
Making Santa and some reindeer is a fun kids' craft activity.Click To TweetMaterials
- 1 cardboard box with lid (about 7cm long and 4cm wide)
- sheet of plain paper (could be coloured or Christmas themed but that reduces decorating!)
- scissors
- textas, pencils, glitter, glue, etc for decorating
- double sided tape (or glue)
- two cotton reels (wooden preferably)
- 1 brown pipe cleaner
- 3 glittery red pipe cleaners
- two googly eyes (you could draw them on if you wanted to)
- gold elasticized thread or string
- a golden bell (or a bead will do)
- a couple of cotton wool balls
- thick red paper
Instructions to make the sleigh
Cut out two sides for the sleigh, making them about as long as an A4 page.
One end needs to be about 15cm high and the other only 3 cm or so high. The shape in between is up to you – it can slope down quickly like a husky sled or stay high and then slope down like a sleigh (better for keeping Santa warm and his sack safe!)
Decorate the cut outs as you wish with colour and glitter.
Sit the box inside the lid.
Doing one side at a time, attach the sleigh sides onto the box with double sided tape (or glue). Leave 2 or 3 cm of the paper past the box.
Instructions to make Santa%27%20fill-opacity%3D%27.5%27%3E%3Cellipse%20fill%3D%22%23f5f5f6%22%20fill-opacity%3D%22.5%22%20rx%3D%221%22%20ry%3D%221%22%20transform%3D%22matrix(-34.97147%20-31.62673%2022.1514%20-24.49407%2058.2%2084.8)%22%2F%3E%3Cellipse%20fill%3D%22%23564d50%22%20fill-opacity%3D%22.5%22%20rx%3D%221%22%20ry%3D%221%22%20transform%3D%22matrix(-11.1802%20168.2814%20-54.29695%20-3.60735%20155.3%20175.9)%22%2F%3E%3Cellipse%20fill%3D%22%23e7bbcb%22%20fill-opacity%3D%22.5%22%20rx%3D%221%22%20ry%3D%221%22%20transform%3D%22matrix(-21.64052%20-23.2502%2032.75311%20-30.48551%2055.6%20196)%22%2F%3E%3Cellipse%20fill%3D%22%23d8687e%22%20fill-opacity%3D%22.5%22%20rx%3D%221%22%20ry%3D%221%22%20transform%3D%22matrix(-26.73413%2024.80698%20-32.86993%20-35.42346%2081.8%20154.1)%22%2F%3E%3C%2Fg%3E%3C%2Fsvg%3E)
Take the red paper – cut it into a circle of about 10 cm in diameter (ie 10 cm across the circle).
Cut a triangle wedge – about 1/5 of the circle.
Roll the piece of paper so that the two sides of the wedge overlap and can be taped or glued together.
Stick a cotton ball on the top of the cone and another near the base to be Santa’s beard.
Draw on some eyes and Santa is done!
Instructions to make the reindeer
Stick the googly eyes onto a cotton reel.
Fold the brown pipe cleaner in half and push the folded end into the top of the cotton reel with eyes. Depending in the size of the hole, you may want to add some glue to keep the pipe cleaner in place. Adjust the pipe cleaner to look like the reindeer’s antlers.
Push all three red pipe cleaners through the other cotton reel. Then, adjust them so that there are four ends are equal on each side of the cotton reel – these are the four legs and can be pulled into position.
One of the remaining ends can be shorter and bent upwards to form the tail. Take the remaining end of the pipe cleaner and put into the other cotton reel to join the two reels together, forming the reindeer’s neck.
Note you could make one pipe cleaner a different colour for the tail and neck – I just kept it simple!
Putting Santa with his sleigh
Stick one end of the gold thread onto the smaller end of the sleigh side with some sticky tape.
Thread the bell onto the thread and knot it in place about half way along the thread.
Loop the golden thread and bell around the red pipe cleaner neck.
Stick the other end of the thread onto the other side of the sleigh.
Sit Santa in the cardboard box.
Santa and his sleigh can now be put on a display as a hand crafted Christmas decoration or given as a gift.


