Lego advent calendar review continues…
Part three of our Lego advent calendar reviews… We finished off after day five hoping for the Lego Friends calendar to produce some exciting items, so let’s see what we found behind the next three flaps.
Day six
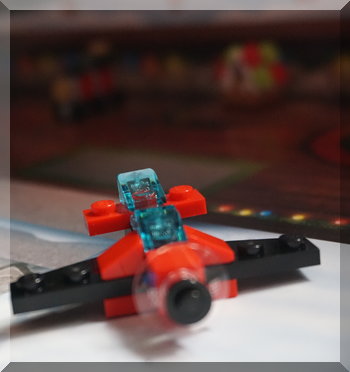
The Lego City calendar for day six was a plane for my son to build. He initially followed the instructions and built the plane as shown, but then realised he had enough spare bits that he could change the design a little, which made him happy.
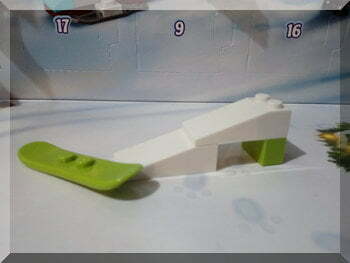
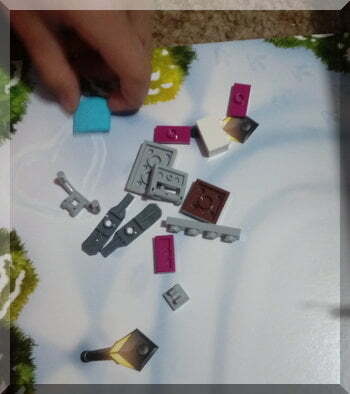
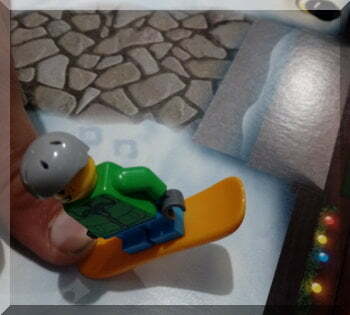
My daughter found a ski ramp and snow board, which she was happy enough to put together.
Day seven
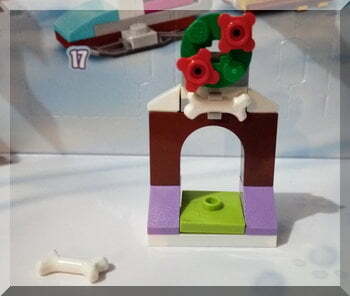
I was very surprised that another pet shelter/stand was behind the flap for day seven in the Friends calendar. But both my children and their friend thought it was perfectly reasonable to have one for the rabbit and this new one for the dog so fair enough!
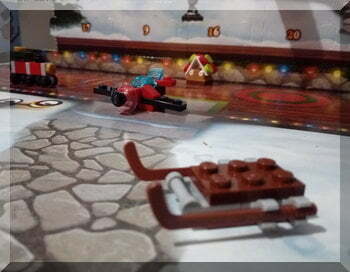
My son was very excited to build a sleigh (more of a sled I’d call it, but he’s happy with a sleigh) from his City calendar for day seven. He was a little unsure about who was meant to ride on the sleigh so I offered but found it did move too well when I put my foot on it…
Day eight
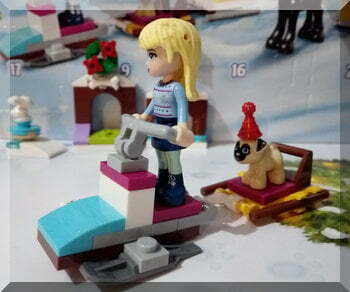
And tonight the Friends calendar produced the dog’s sled to attach behind Stephanie’s snow mobile. While the dog alone disappointed her, my daughter is now quite happy to have the stand and sled for the dog.
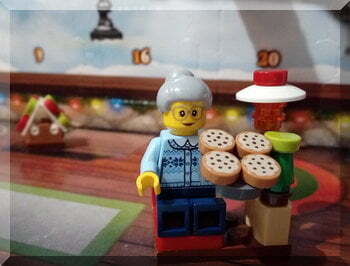
Meanwhile, the City calendar gave my son a grandmother figure with a tray of biscuits (presumably ready to give Santa!) She now sits proudly on the chair!
Themed Christmas designed with style
Christmas tree day!
Years ago, my flatmate and I gave the first of December the unofficial title of “Christmas Tree Day” and the name has stuck. It’s the day I give myself permission to decorate my home for the Christmas season, although I have been planning my tree and decorations for a while beforehand.
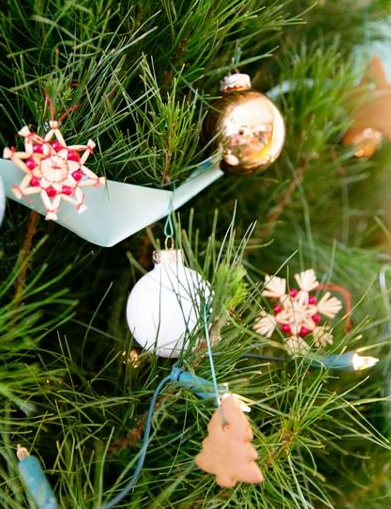
I like to purchase additional ornaments every year to build on my collection of decorations that are laden with memories (is there anything more precious than your baby’s first Christmas bauble?), but as an interior designer, I like to have a general idea of what my tree will look with the expectation that my children will add their home made flourishes for which I’m lucky I don’t suffer from *P.O.P.D.! This year my tree is planned to be in peacock tones.
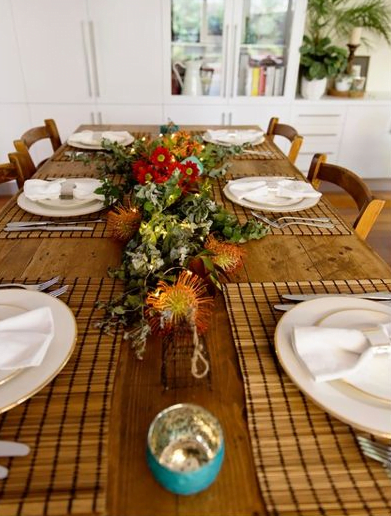
Apart from the decorated tree, I also like to bring in some Christmas cheer by decorating my entry table and dining table with an arrangement that ties in to the theme of the tree.
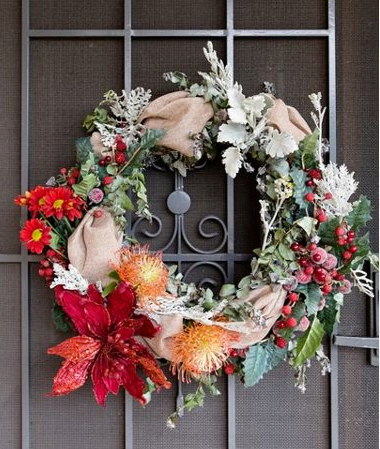
While the Christmas tree is beautiful, nothing is more welcoming than decorating the front door with a homemade garland.
Decorating tips…
My best tip for decorating your home for Christmas is to choose a colour combination for your decorations and carry the colours from front door, entry, dining table and tree. The steady colour palette makes for a comfortable transition from room to room.
Personally, I like the rule of 3. This means you use three colours – a main colour that is about 60% of the decoration, a secondary colour for 30% and a final colour to make up the balance as a sharp contrast.
This article and associated photos were kindly provided by Sophie Kost, lead designer at My Beautiful Abode.
*Perfect Ornament Placement Disorder
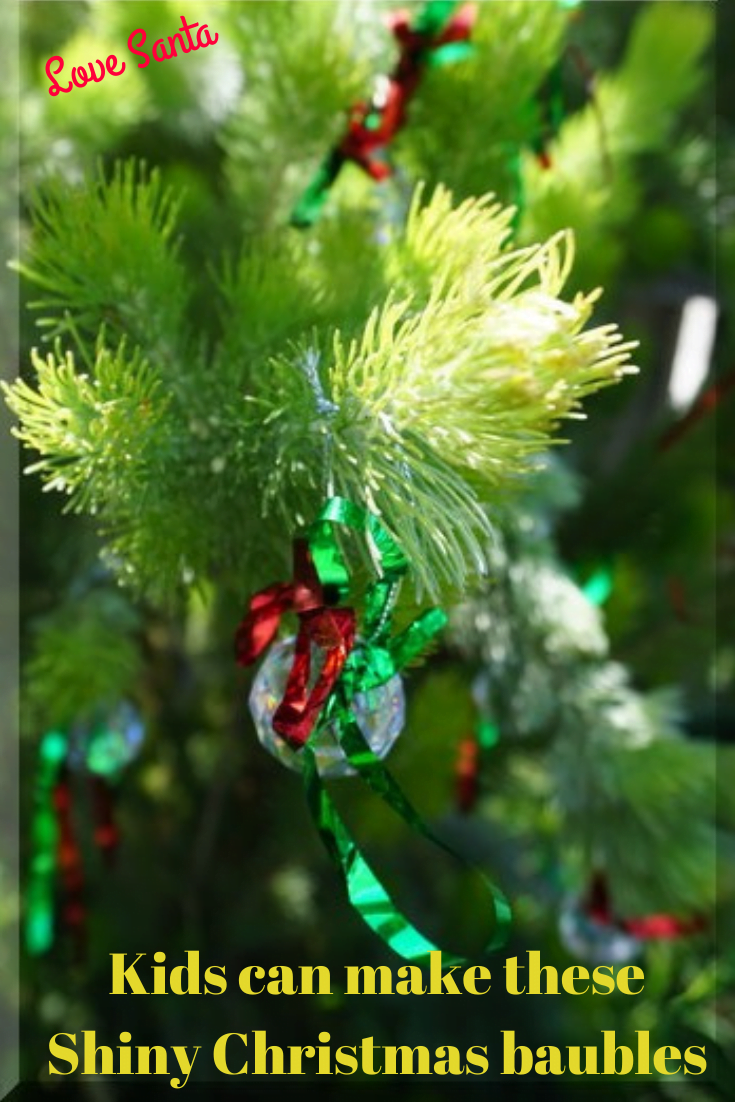
Creating shiny Christmas baubles for kids
This year, I decided on some decorated glass baubles for my daughter to give to her classmates – we usually make something rather than just giving the kids another candy cane!
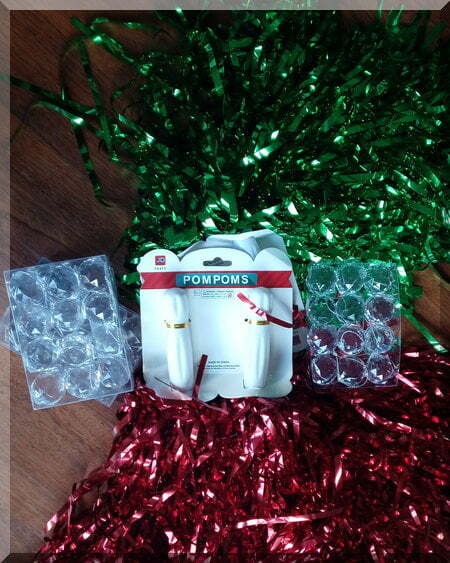
Shiny bauble materials
I got the idea by seeing some pretty glass baubles on a clearance table at Westminster Christmas shop.
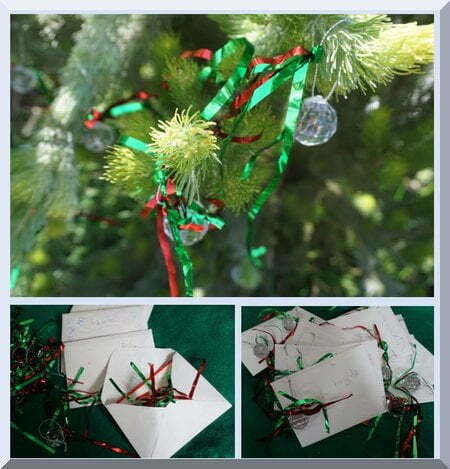
In looking for some ribbon or tinsel to use for decorating the baubles, I discovered some shiny red and green cheerleader pompoms in a discount store! This made things really easy as we only needed to pull off a length of ribbon instead of having to cut anything up (and given there are 31 children in the class, it would have involved a lot of cutting!)
Making the baubles
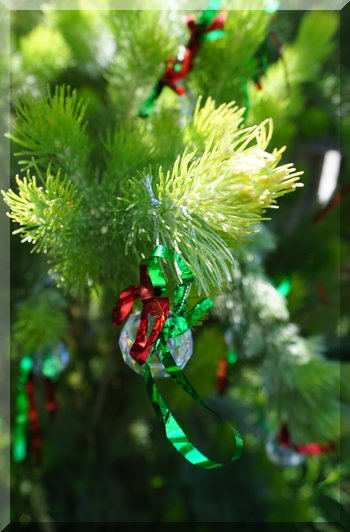
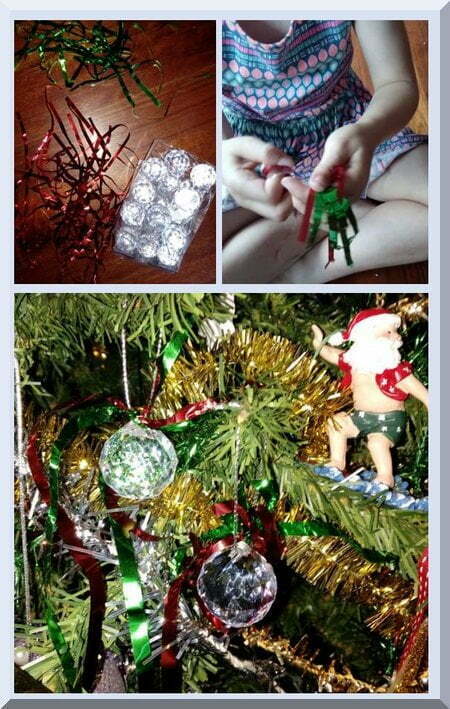
Very simply, we took two green and two red ribbons and tied them onto the bauble’s string, resulting in shiny decorations!
My tip is to use baubles that have a fixed string – the ones we had just had string tied in a loop so it moved around as we worked, making it a bit more challenging.
As it turned out, this activity required quite a lot of fine motor skills so I ended up helping the kids and then making many of them myself. So it was a simple idea but not so easy to implement, unfortunately.
Finished decorations
I think they look very pretty, though, especially when sparkling in the sunshine.
What do you think – pretty? shiny? Christmassy? Will you try making some?
Lego calendars quite different
Our Lego advent calendar countdown continues with days three to five, and I must say there is a clear difference between the City and Friends versions this year.
In past years, my daughter has felt let down on a couple of days but overall loved the calendars. This year, she is really disappointed with the Friends calendar so far – and jealous of her brother’s City calendar. And rightly so. I’m afraid.
Day 3
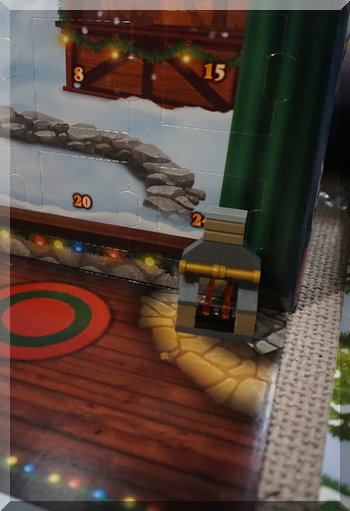
Lego City produced a cute little fireplace that fits nicely into the corner of the play board.
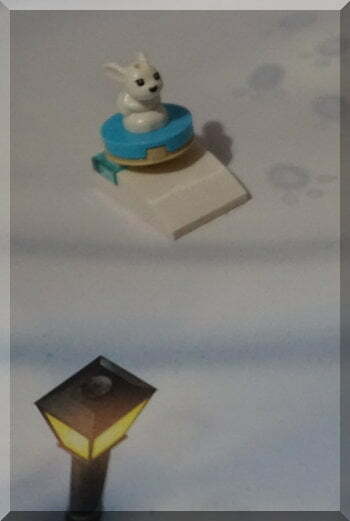
Lego Friends has a cute little rabbit on a slide (at least we think it is for the rabbit to slide down).
Day 4
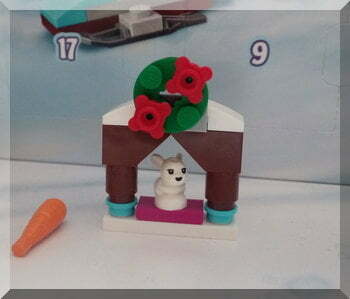
Pleasingly, Lego Friends had more pieces to put together today as my daughter created a structure – I thought it was a fireplace/mantlepiece, but my daughter sat the rabbit inside it so she thinks it is a pet house/stand apparently! What do you think it looks like? It also came with a carrot, which supports the pet stand idea I guess!
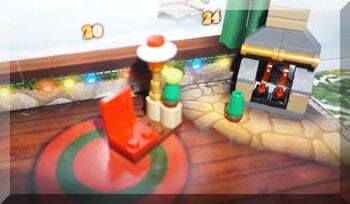
Lego City had a chair, lamp and side table combination to put together, and it fits nicely beside the fireplace 🙂
Day 5
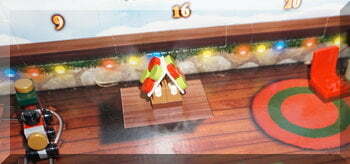
My son was very happy to open up and build a gingerbread house on day five of the City advent calendar.
However, the sarcasm just dripped off my seven year old’s tongue as she said “Oh, this is exciting to build”. Inside the fifth flap she found a small Lego dog – no accessories, nothing to build, just a plastic bag with a tiny dog in it which she was bitterly disappointed with – especially in comparison to a gingerbread house.
I sincerely hope the next few days are better in the Friends calendar.
Have you had any advent calendar disappointments?
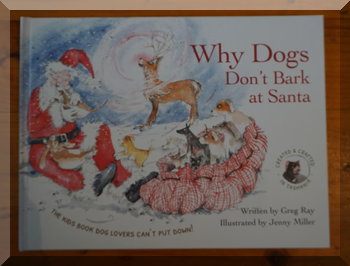
Why dogs don’t bark at Santa – Christmas book review
Why dogs don’t bark at Santa %27%20fill-opacity%3D%27.5%27%3E%3Cellipse%20fill%3D%22%23979898%22%20fill-opacity%3D%22.5%22%20rx%3D%221%22%20ry%3D%221%22%20transform%3D%22matrix(-93.46918%20-70.17865%2052.59659%20-70.05208%20140.9%20227.6)%22%2F%3E%3Cellipse%20fill%3D%22%23282929%22%20fill-opacity%3D%22.5%22%20rx%3D%221%22%20ry%3D%221%22%20transform%3D%22matrix(106.87408%20278.4165%20-62.0037%2023.80099%20335%2032.3)%22%2F%3E%3Cellipse%20fill%3D%22%23272828%22%20fill-opacity%3D%22.5%22%20rx%3D%221%22%20ry%3D%221%22%20transform%3D%22matrix(-1.99549%2023.8122%20-91.21612%20-7.644%20191.7%20.7)%22%2F%3E%3Cellipse%20fill%3D%22%23232424%22%20fill-opacity%3D%22.5%22%20rx%3D%221%22%20ry%3D%221%22%20transform%3D%22matrix(-94.407%2043.82227%20-12.85824%20-27.70072%2023%20.7)%22%2F%3E%3C%2Fg%3E%3C%2Fsvg%3E)
by Greg Ray
illustrated by Jenny Miller
designed by Holly Webber
Why Dogs, Tasmania, 2017
Age group: preschool to 10 years, adult dog lovers
Format: hard cover, 26 pages
A friend travelling in Tassie discovered this book for her grandson, and lent it to me.
The story
Santa and Rudolph are heroes to dogs everywhere, and this story explains why…
My Christmas book review
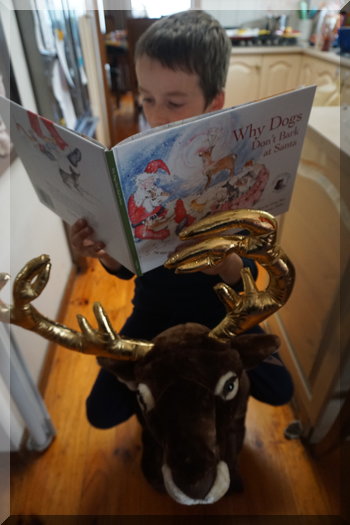
I was surprised at enjoying this book more than I expected to. Jenny Miller has created some beautiful watercolour images for the story that merge into the white space used for the text. It starts with a dog not reacting to reindeer outside the window and Santa’s feet arriving in the fireplace.
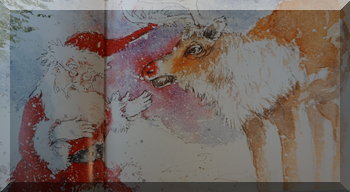
Santa and Rudolph in the snow
The text itself consists of rhymes throughout which is fun for younger listeners, and for the reader!
Through a snowy storm, Santa doesn’t give up on searching for a group of lost puppies so the book showcases Santa as generous and caring, as we expect him to be.
This is the latest in series of Why Dogs books which are all self-published in Tasmania. I haven’t read any others, nor seen them, but they are described as a tongue in check collection of stories about the characteristics and eccentricities of our canine companions.
My seven and nine year old kids enjoyed this Christmas book, as did a friend’s two year old dog-loving son.
Would I recommend Why dogs don’t bark at Santa? Yes, I would as it is a fun read and a nice story about Santa. And I do like Miller’s watercolour images!
A Christmas party
We started December by going to a wonderful Christmas party, thus delaying our start of the 2017 advent calendars!, so here are some of the photos from the night…
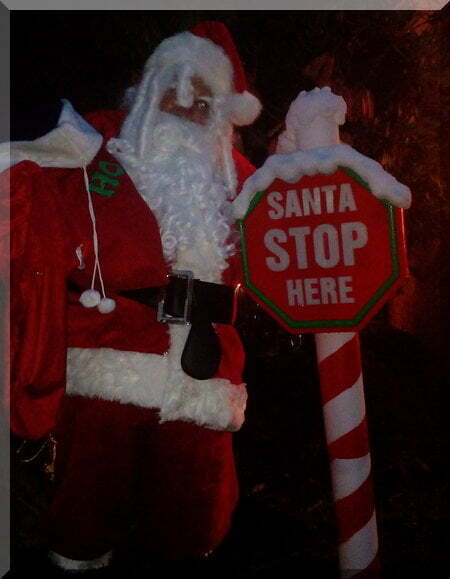
Obediently, Santa stopped by…
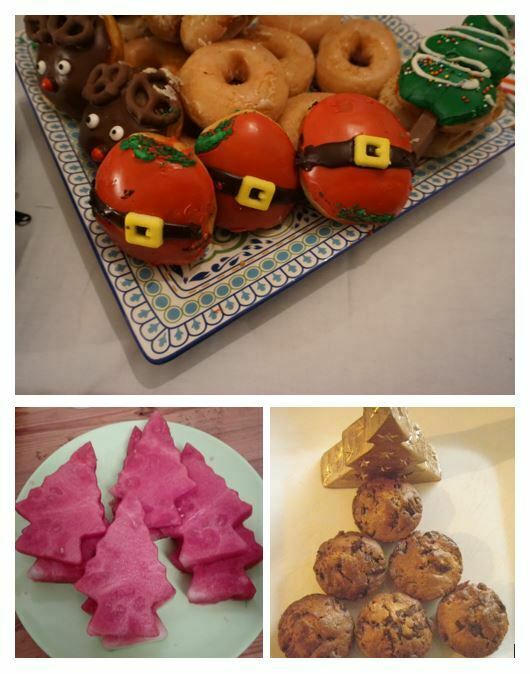
There were lots of Christmas treats to eat…
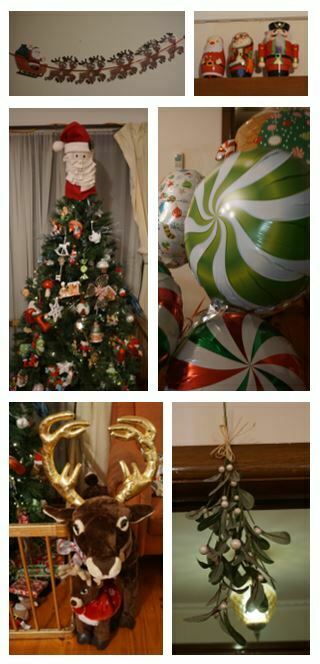
Some gorgeous decorations, including a bunch of mistletoe…
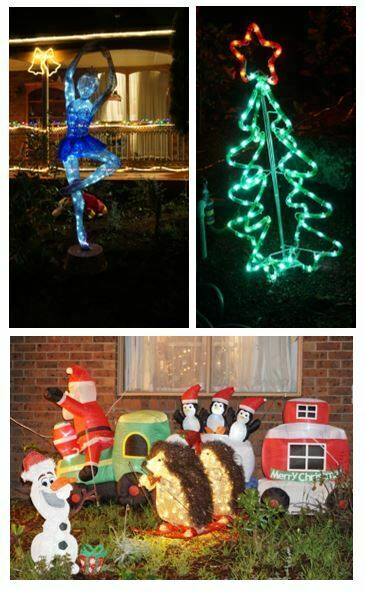
Outside were some pretty lights…
And the star of the night, of course, was Santa!
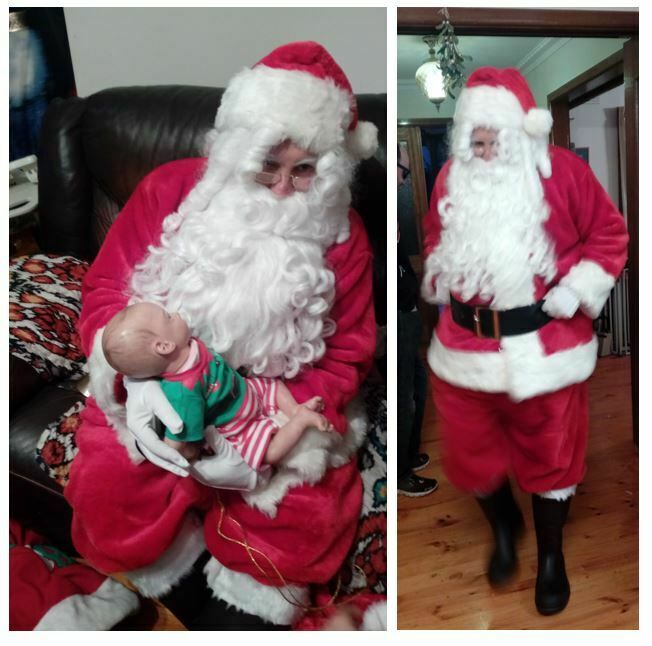
Santa gave lovely cuddles to Charlotte, the little elf.
2017 Lego Advent Calendar review…
So we’re into December and advent calendars have begun…
Ours was a little delayed as we were out late on the first at a (surprise, surprise!) Christmas party with Santa and some gorgeous lights (I digress – photos from that party can be a different post!)
So, we again have both a Lego City and Lego Friends advent calendar and will share what the kids find each day (although we will group them into a few days at a time this year).
Lego Friends days one and two
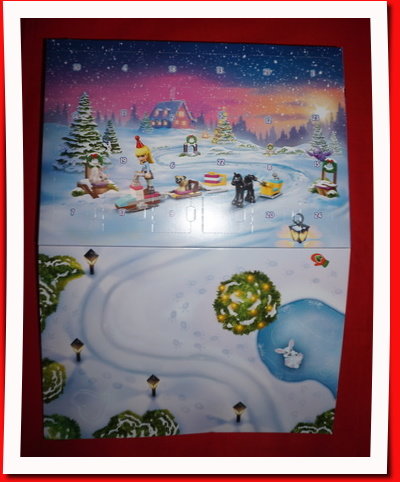
The 2017 Lego Friends Advent Calendar play board
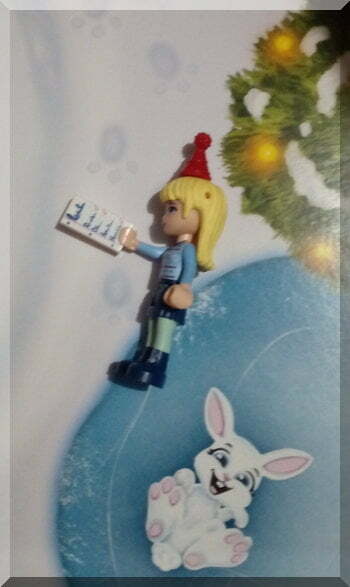
My daughter wasn’t too excited on day one as she ‘only got’ a character, Stephanie, but she enjoyed the fact that Stephanie came with two party hats and a Christmas list!
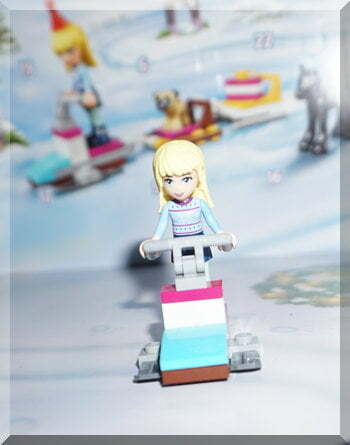
Day two was much more exciting as she had to build a snow-mobile for Stephanie.
Lego City days one and two
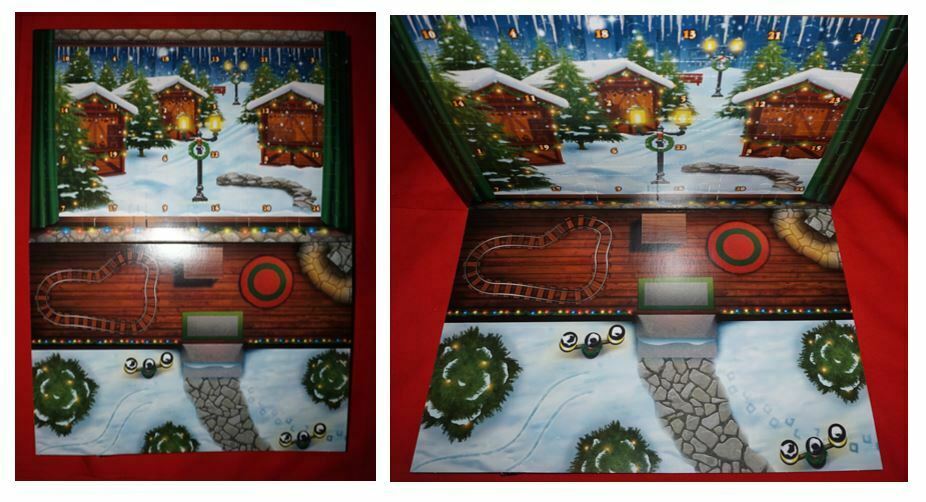
The 2017 Lego City Advent Calendar play board
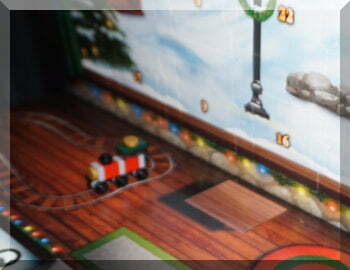
On the other hand, both my children loved the Lego City day one when my son got to build a toy train which fits nicely onto the tracks on the play board.
My son was also very excited on day two to discover he had a snow boarder.
Another scouting Christmas tree idea!
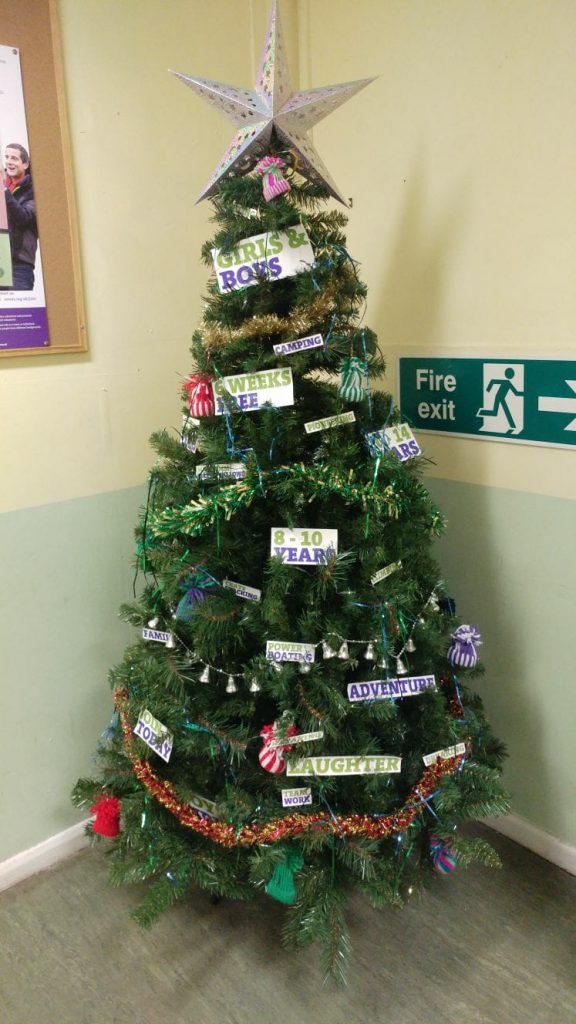
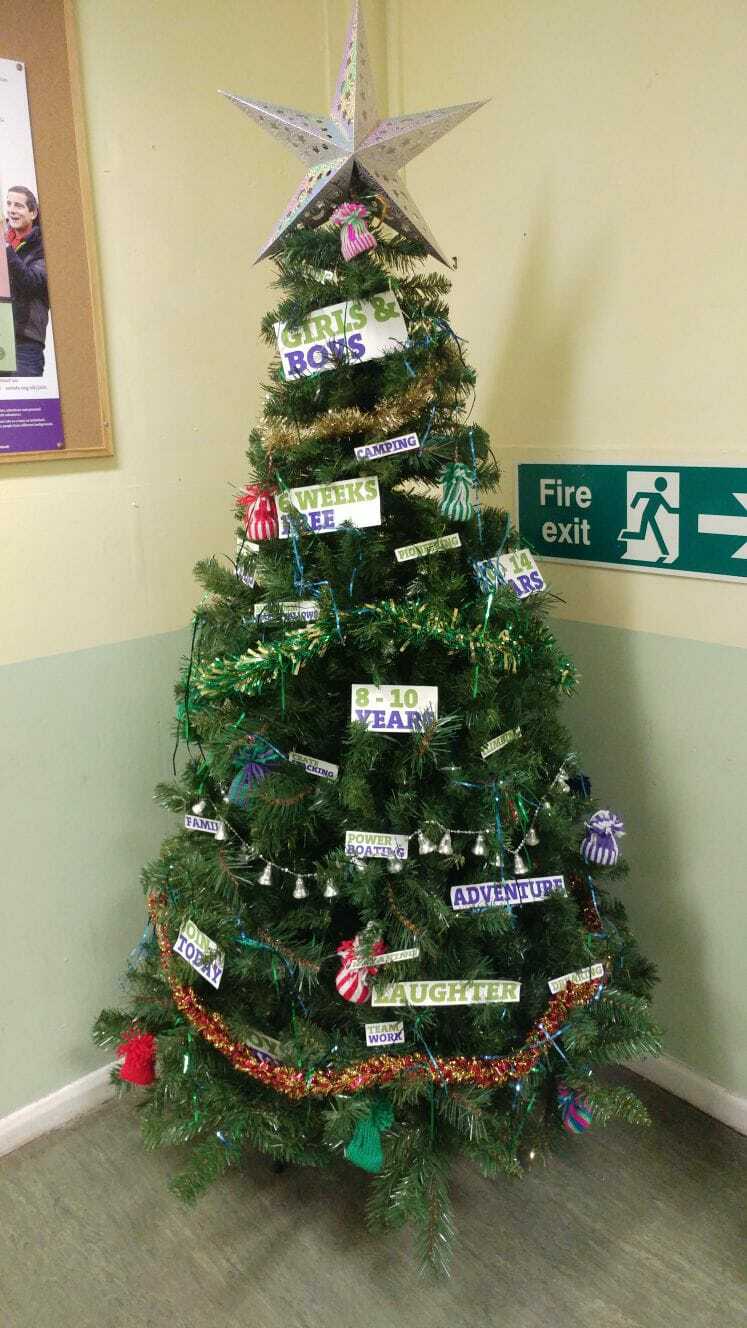
Following on from the Christmas tree festival ideas and the tent-based Christmas tree, I found another effective tree decorating idea.
Clare (Scout Leader), Adam (Explorer Leader) and Laura (Beavers Leader) set this up at 5th Littlehampton Sea Scout Group’s hall this year.
Apparently some leaders were very keen to get a tree up, even though it was still November – they suffer the terrible affliction of pre-festivitis!
They normally have a “look what we do” board at the entrance to their Scout Hall, but there was no space for it and a tree, so they combined the two.
I like how simple it is – a few signs that share who the group is, a few decorations and some tinsel and the tree is done!
I think this concept is simple enough to be used by other scout and youth groups, plus many other places.
Would you use this idea to add Christmas cheer to a public place or group?
* Photo used with permission of Laura, with thanks!
make gifts from memories
Giving gifts of meaning is always appreciated, and it makes me feel good to do it, too.
A $5 notepad bought because I’d love the picture is a much nicer gift than a $20 impersonal gift voucher in my eyes.
And home-made gifts show love and care as well, so why not make a meaningful gift for someone this Christmas?
Creating memory gifts
I’ve thought of a few ways to collate some memories to share as gifts…
- frame a collection of old kitchen or workshops gadgets – or a photo of them! Use a deep frame or a shadow box (best for reducing dust collection!) or skip the glass front and attach items onto the backboard of a frame. It’s a great use of old things not used much but too treasured to throw away.
- put a collection of treasured items inside a glass topped table
%22%20transform%3D%22translate(.5%20.5)%22%20fill-opacity%3D%22.5%22%3E%3Cellipse%20fill%3D%22%23c2c2c2%22%20rx%3D%221%22%20ry%3D%221%22%20transform%3D%22matrix(34.1939%20-65.3624%20195.5957%20102.32458%20167.3%200)%22%2F%3E%3Cellipse%20fill%3D%22%23484848%22%20rx%3D%221%22%20ry%3D%221%22%20transform%3D%22matrix(-204.12026%20-16.55208%201.97715%20-24.38217%20189%20171.8)%22%2F%3E%3Cellipse%20fill%3D%22%234c4c4c%22%20cx%3D%22233%22%20cy%3D%22228%22%20rx%3D%2234%22%20ry%3D%2288%22%2F%3E%3Cellipse%20fill%3D%22%23dcdcdc%22%20cx%3D%22217%22%20cy%3D%223%22%20rx%3D%2258%22%20ry%3D%2213%22%2F%3E%3C%2Fg%3E%3C%2Fsvg%3E)
Display table {image courtesy of HousingWorksThriftShops (Flick‘r)}
- make a picture out of special cards or tickets – put a few on an interesting background (try scrapbooking paper for inspiration) or overlap a lot of items.
- put some special photos into ornaments that hang on the Christmas tree
- laminate a special or funny photo and put it into a clear containers to fill with soap as a personal addition to a bathroom or kitchen
- stick photos/collage onto kitchen canisters – it’s a very personalised kitchen, reuses old canisters and displays special memories in a creative way
- use old mirrors (especially those hand held ones that could be a reminder of a grandmother or childhood) as alternative photo frames
- make a picture or a collage of old house and car keys – a great trip down memory lane! Alternatively, make them into a mobile or windchime.
%27%20fill-opacity%3D%27.5%27%3E%3Cellipse%20fill%3D%22%23a9761b%22%20fill-opacity%3D%22.5%22%20rx%3D%221%22%20ry%3D%221%22%20transform%3D%22matrix(-30.66412%2031.75363%20-67.43685%20-65.12301%20361.3%20183.5)%22%2F%3E%3Cellipse%20fill%3D%22%23df99b9%22%20fill-opacity%3D%22.5%22%20rx%3D%221%22%20ry%3D%221%22%20transform%3D%22matrix(126.7279%20-81.98395%2035.87203%2055.44972%20309.9%2041)%22%2F%3E%3Cellipse%20fill%3D%22%23dea092%22%20fill-opacity%3D%22.5%22%20rx%3D%221%22%20ry%3D%221%22%20transform%3D%22matrix(-56.91313%20-118.4285%2059.77904%20-28.72799%20265.4%20222.4)%22%2F%3E%3Cellipse%20fill%3D%22%23a5711f%22%20fill-opacity%3D%22.5%22%20rx%3D%221%22%20ry%3D%221%22%20transform%3D%22matrix(-21.87992%2029.7553%20-36.6111%20-26.92119%2075.4%20282.3)%22%2F%3E%3C%2Fg%3E%3C%2Fsvg%3E)
Mount some old keys to remember their secrets! {Image courtesy of TakiSteve (Flick’r)}
- use an old window frame from a family home to create a shadow box or picture frame so the frame and the contents bring warmth and happiness
- turn old wooden items into Christmas decorations
- make a wreath (of Christmas or perhaps to hang outdoors all year round) out of old tools, garden implements or kitchen gadgets
- make a patchwork quilt or throw rug out of some favourite fabric items like
- baby clothes and blankets when the youngest child grows out of them
- old tablecloths, runners and doyleys from your grandparents
- a few favourite dresses or t-shirts
%22%20transform%3D%22translate(.8%20.8)%20scale(1.5625)%22%20fill-opacity%3D%22.5%22%3E%3Cellipse%20fill%3D%22%23571c00%22%20rx%3D%221%22%20ry%3D%221%22%20transform%3D%22rotate(-106.2%2024.4%207.8)%20scale(61.92157%2064.79959)%22%2F%3E%3Cellipse%20fill%3D%22%23c4dcff%22%20rx%3D%221%22%20ry%3D%221%22%20transform%3D%22matrix(-4.57674%2040.81243%20-138.0084%20-15.47638%2050.5%20174)%22%2F%3E%3Cellipse%20fill%3D%22%23f79b54%22%20cx%3D%22201%22%20cy%3D%2216%22%20rx%3D%2264%22%20ry%3D%2236%22%2F%3E%3Cellipse%20fill%3D%22%23bcb0c2%22%20rx%3D%221%22%20ry%3D%221%22%20transform%3D%22matrix(29.22399%20-15.2614%2016.78737%2032.14607%20144.1%2064)%22%2F%3E%3C%2Fg%3E%3C%2Fsvg%3E)
Is this a colour statement or a collection of memories? {image courtesy of Maleva Apaixonada (flick’r)}
- tea-towels from various places you’ve visited
- make a hanging rack by sticking objects on a length of wood – you can use cutlery and kitchen tools bent to shape, handles from various tools, door knobs, Lego or wooden blocks, and all sorts of things
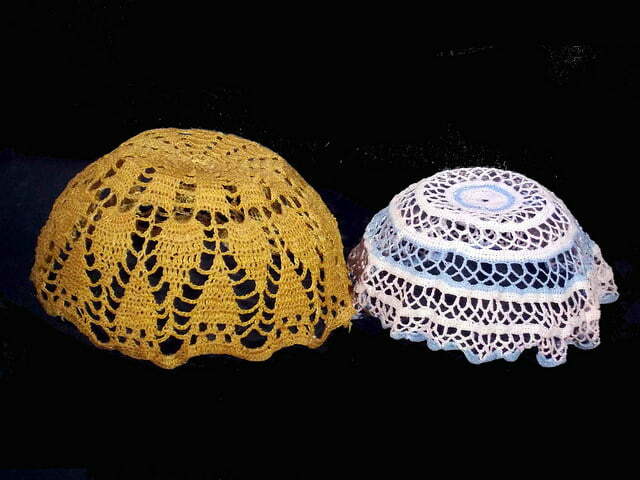
- use some old lace and some glue to create a lamp cover or even a decorative bowl

Two bowls made from lace and undiluted glue {image courtesy of Christine Majul (Flick’r)}
- make a snow dome using a laminated photo or some small items, like a toy car, animal or person
Of course, the hard part may be giving up your work when it’s time to hand it over!
Have you ever been given a gift based on memories and treasured items?
* All Flick’r images are used under the creative commons licence.
A scouting Christmas tree
I came across this unusual Christmas tree and fell I love with the idea of it 🙂

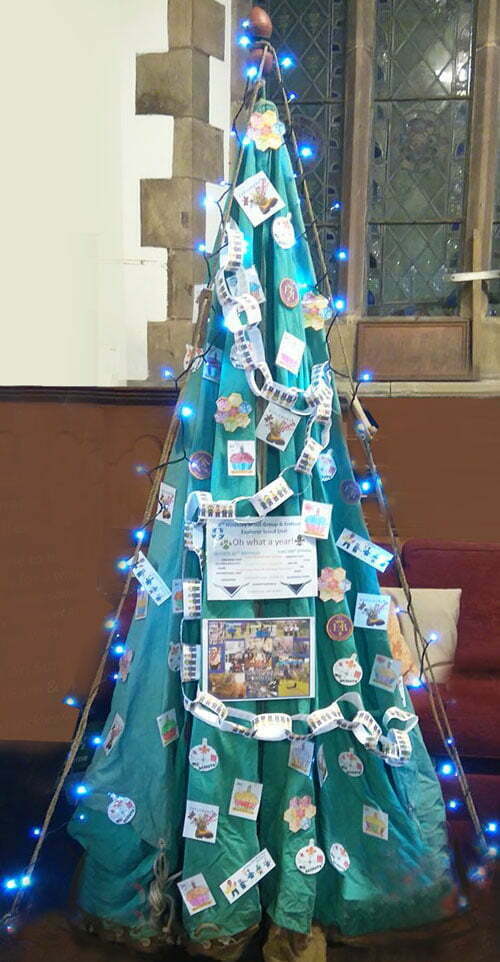
There’s so much to enjoy about a tent-based Christmas tree!
Basically, for Christmas 2016, a scout group hung up a green Auto tent to form a flowing tree shape and then decorated it! And used decorations hand made by the children in the scout group 🙂
Rebecca Goodson, Group Leader for that scout troop, explained their tree:
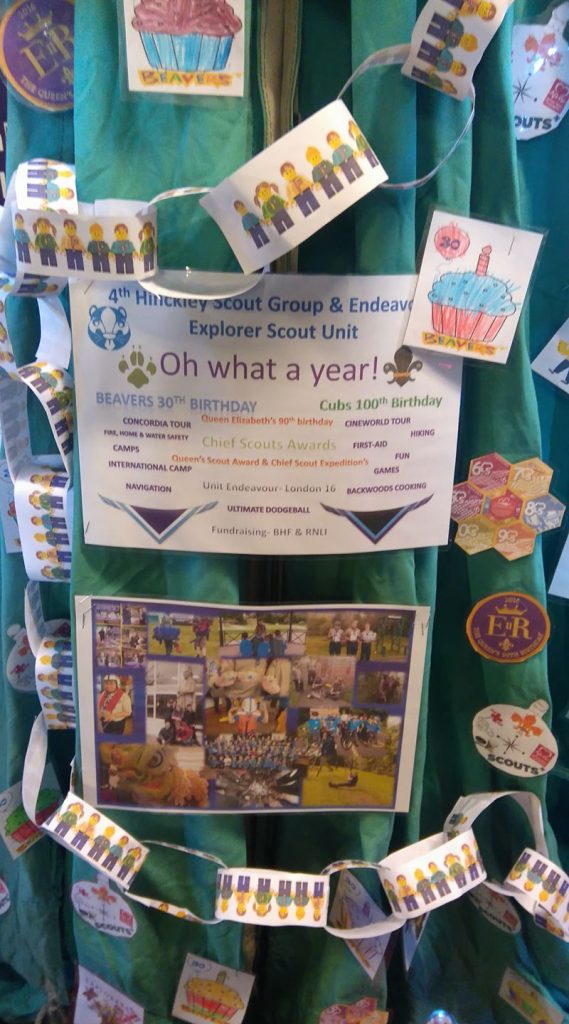
Personalised decorations with meaning to the scouts are part of this tree’s charm.
Very proud of our ‘tree’ for our local Church Christmas tree festival. Our tree was titled “Oh what a year” and depicted the main events and activities the Beavers, Cubs, Scouts and Explorers took part in during 2016. We used a traditional (and very old) Canvas patrol tent – visitors to the week’s events were impressed with the authentic Scout Hut fragrance!!! We have a wooden Scout Hut that is in its 92nd year so it’s a little cold and damp. The idea for this year’s Tree was my husband’s idea and we are already planning next year’s.
I love this tree because
- it totally suits the group assembling the tree (ie a tent is ideal for scouts!)
- it makes use of something they already had (ie no need to buy a tree)
- it can be used for other purposes (in this case, camping!) throughout the year so it is not just taking up storage space for 11 months of the year
- it is unique and completely personalised
- it is very environmentally friendly
- it is unexpected and lots of fun!
Christmas treasure hunt – Christmas book review
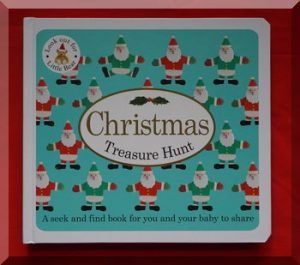
Christmas treasure hunt %22%20transform%3D%22translate(.6%20.6)%20scale(1.17188)%22%20fill-opacity%3D%22.5%22%3E%3Cellipse%20fill%3D%22%2385ab9e%22%20rx%3D%221%22%20ry%3D%221%22%20transform%3D%22rotate(89.7%202%20119.6)%20scale(50.03534%2067.58962)%22%2F%3E%3Cellipse%20fill%3D%22%23760022%22%20rx%3D%221%22%20ry%3D%221%22%20transform%3D%22matrix(-18.8332%20-.11536%201.56094%20-254.83962%20243.3%2091.6)%22%2F%3E%3Cellipse%20fill%3D%22%23381a25%22%20cx%3D%22140%22%20cy%3D%22215%22%20rx%3D%22255%22%20ry%3D%2219%22%2F%3E%3Cellipse%20fill%3D%22%231f936c%22%20rx%3D%221%22%20ry%3D%221%22%20transform%3D%22matrix(-.92523%20-22.97131%2077.25965%20-3.11185%20128.3%20164.4)%22%2F%3E%3C%2Fg%3E%3C%2Fsvg%3E)
by Sarah Powell
designed by Emma Jennings
St Martin’s Press, London, 2014
Age group: preschoolers
Size/format: board book
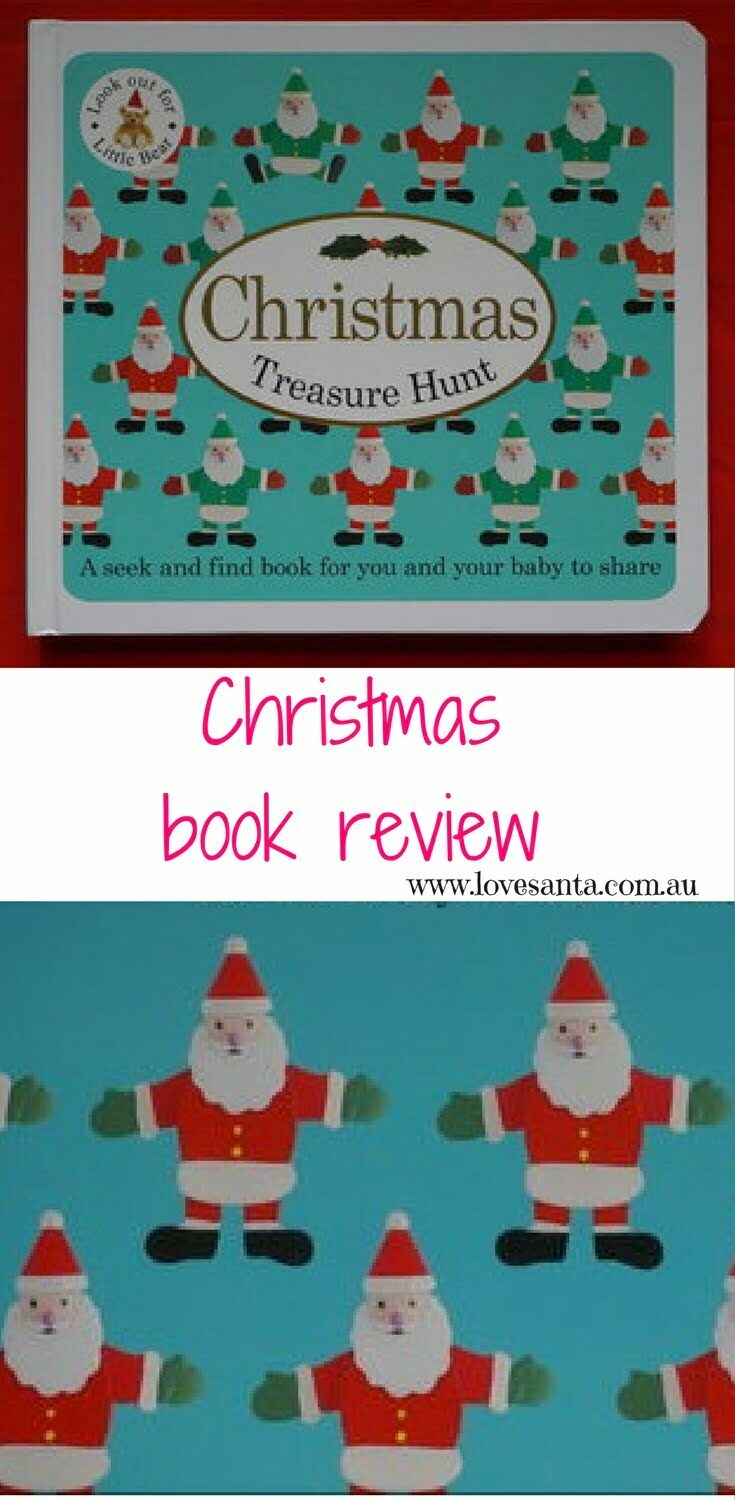
A cheerful looking baby book full of Christmas images that we gave to a young friend last Christmas.
The story
A search and find book for babies and toddlers. There’s no story as such!
My review
This is a very cute book, enjoyed by adults and loved by the one year old we gave it to. Not surprisingly, it is very simple given the age group.
There are seven sets of images (such as Santa and some Christmas stockings) where one image is a little different to the others. There is also a teddy bear ‘hidden’ on each page.
It is a lovely first book, and could be read throughout the year, not just at Christmas time.
Would I recommend it? Absolutely – it is lovely and develops observation skills as well.
The Magic of Christmas in Central Australia
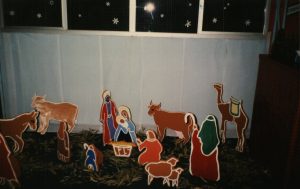
While Christmas tree festivals may not be well known in much of Australia, guides in Alice Springs ran a community Christmas event between 1996 and 2001.
One of the founders of this event, Karen Byrne, was kind enough to share the following article and photos…
How it began
Written by Margaret Rudwick for Guiding in Australia, March 1997.
Karen Byrne and Sue Ride sat relaxing outside a local church one afternoon, guarding the white balloons they had just blown up, each with a paper dove attached, ready for the annual Peace Day service.
It occurred to them that there were a number of community–wide activities run each year by local organisations, but Guides in Alice Springs did not have one. And so a crazy idea occurred to them – why not do something special for the people of Alice Springs, and in doing so, put Guiding on the annual calendar?
“Crazy,“ says Sue “because we should have known what we were letting ourselves in for!”
“I’d always had an idea we could do something at the Guide Hall for families, something affordable,” says Karen, “and as no–one else in town had a major Christmas activity it seemed just the thing to do.”
And so the Magic of Christmas was born.
Planning the Magic of Christmas
Plans were made, and not on a small scale!
The whole of the Guide Hall was to be decorated, a dozen or so distinct displays set up, and local families encouraged to come and share together the Magic of Christmas.
Local suppliers were generous with their donations and not one knock–back was received in a whole day of canvassing the town, although there was some confusion over the collectors’ enthusiasm for “rubbish” in the form of polystyrene sheets & boxes!
The Trefoil Guild donated $500 which was the only cash received and enabled the purchase of the crepe paper (yes, we used a lot of crepe paper!) The Support Group provided the bags of sweets for Father Christmas to give out. Members of both these groups gave of their time and skills throughout the opening hours, adding to the Magic for all the visitors.
About two weeks before opening day, the real work started.
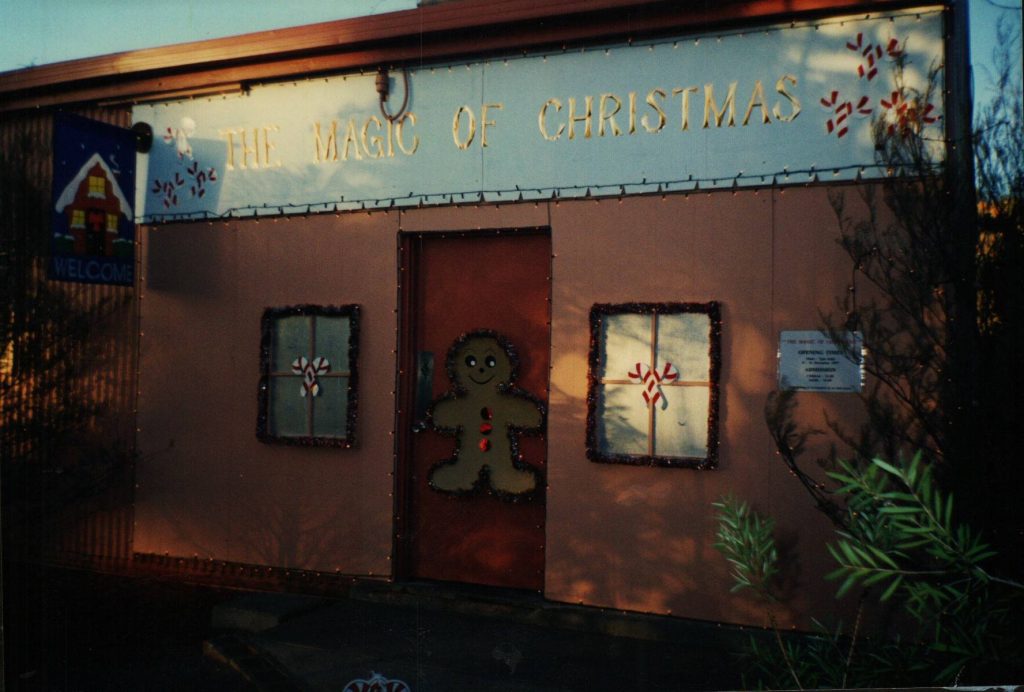
The making of the Magic of Christmas
All four interior walls of the hall were to be lined with red, white and green crepe paper – this had to be double thickness to hide the murals on the walls. Now the hall is quiet a reasonable size so this is no mean feat! Although a large quantity had been special ordered there never seemed to be enough so Sue’s mother, Joan Higgins, was kept busy scouring the town for more. One of the complicating things was that different brands came in different shades so acquiring just what was wanted was really difficult.
“Kilometres of crepe paper,” groans Joan.
“Have you ever covered a hall in crepe paper?” asks Karen. “You get it up nice and firmly, and then you go home for the night.”
“But, horror of horrors,” Sue adds, “when you walk in next morning all the even, straight paper you left the night before has sagged and gone all crinkly overnight. It took us a while to realise it was just the unseasonable humidity. By mid morning, it would be dried out and look fine again.”
“Even though it happened each night we still worried about it each morning,” says Karen.
Once the crepe paper was up – and there are stories of ladders, and chairs on tables and other indescribable ways of doing the job – the setting up of displays could start.
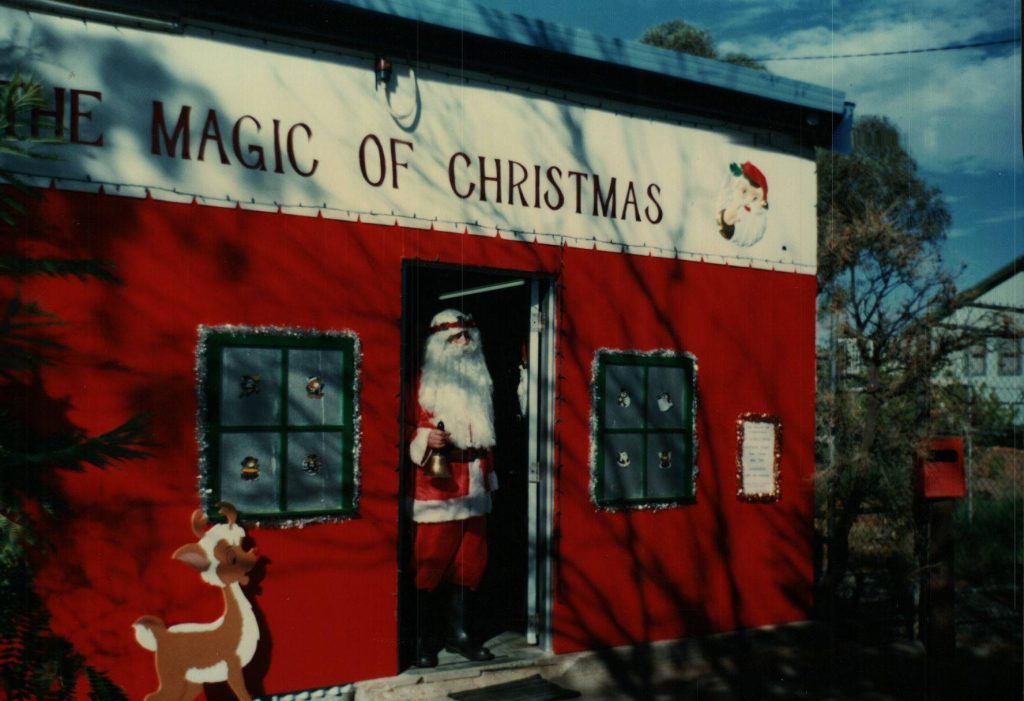
A false front made the hall look like a little red Christmas house complete with a letter box for posting letters to Father Christmas – all of which were answered. Inside, the focal point was to be Father Christmas at the far end.
Christmas displays
From the entrance and down each side were almost a dozen separate themes including:
- A two meter high advent calendar. One visitor each day was lucky enough to open a window on it which revealed a different Christmas scene;
- A trading table which sold small Christmas items suitable as children’s gifts to family and friends.
- Stained glass window – all the windows were transformed into the Three Wise Men, Candles or Bells created with cellophane and black cardboard.
- An Australian Christmas theme, complete with native tree, a swag, native birds, all under the Southern Cross.
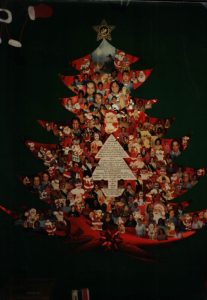
- A Guide corner where there was a large red Christmas tree on which there was a photo of every single guide and leader in Alice Springs. Every girl bringing her family could point out her photo and those of her friends.
%27%20fill-opacity%3D%27.5%27%3E%3Cellipse%20fill%3D%22%23af4845%22%20fill-opacity%3D%22.5%22%20rx%3D%221%22%20ry%3D%221%22%20transform%3D%22rotate(169.2%2049.6%2081.2)%20scale(50.31968%2082.85503)%22%2F%3E%3Cellipse%20fill-opacity%3D%22.5%22%20rx%3D%221%22%20ry%3D%221%22%20transform%3D%22matrix(202.84102%2030.20855%20-7.76812%2052.16052%2089.7%20294.3)%22%2F%3E%3Cellipse%20fill-opacity%3D%22.5%22%20rx%3D%221%22%20ry%3D%221%22%20transform%3D%22matrix(-29.86954%20-13.4075%2083.98078%20-187.09427%2013.5%2092.6)%22%2F%3E%3Cellipse%20fill-opacity%3D%22.5%22%20rx%3D%221%22%20ry%3D%221%22%20transform%3D%22rotate(-37.2%20144%20-258.3)%20scale(39.42464%20186.37297)%22%2F%3E%3C%2Fg%3E%3C%2Fsvg%3E)
- A section showing Christmas traditions from overseas countries including England, Scotland, Mexico, Italy and France.
- A snow scene with a snowman and a beautiful free standing reindeer.
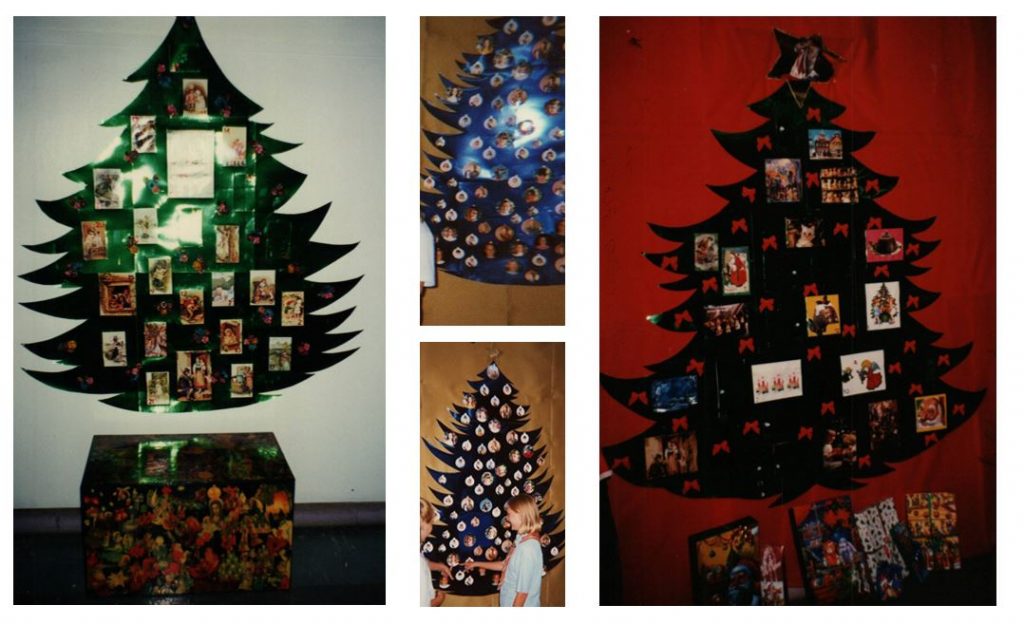
- A traditional tree with 24 gifts in a sleigh beside it. One lucky child each day was able to open one of these.
- A teddy bear’s corner with a small competition.
Devonshire tea and coffee was supplied by the trefoil Guild, and they also ran a small raffle. There were treats for the children there, too.
There was a children’s play area with games, a video and a train set for the young ones who did not need (want!) to spend so much time looking at the details. In fact, not a part of the Guide Hall was left undecorated – streamers, snowflakes and stars covered the ceiling and angles, and novelty trees, lanterns and candles added to the magic in corners and on the floor. Glitter covered the carpet.
Sue and Karen are adamant it was well worth it. “Our families didn’t see us at home very much for a couple of weeks,” says Karen, “but they came along and helped us!”
“And help us they did – we would never have done it without their fantastic support,” adds Sue. “And not just by helping us to put up the displays either. Karen’s husband, Greg, had to manage without his hat and my husband, Graham, lost his boots to the swagman! Whilst Karen’s children Raymond and Rene talk of leaving town at Christmas time, we suspect they will be there again offering their tired mum a coffee in bed, or waiting tea until everyone is home at 10pm.”
“Home” says Karen wryly “was where they went to escape the crepe paper, and the monotonous diet of cold coffee and guide biscuits!”
Magic of Christmas outcomes
Over 1,000 families visited the hall in the time it was open and entry was free.
And was it worth it?
“Just to see the children’s faces made it worthwhile” said Karen.
Father Christmas was always there no matter what time a family dropped in. If he wasn’t sitting in his chair he would always appear within a few minutes of someone’s arrival and he had a bag of lollies for all his young visitors.
Each child had their photo taken with Santa, with the photo being available for sale next day, and although there was no obligation to buy, most people did come back a purchase a copy.
Planning is already well in hand for next Christmas. Bigger and better things are planned and there will be many changes, including more activities and visitor involvement, and some moving displays.
Families will be charged a gold coin donation to enter, not to make a profit, but to improve the displays for the following year. School groups will be admitted free during the day.
But crepe paper will be out – paint is in next time!
“What we set out to do was make a Christmas spectacle on a shoestring – to do something anyone, anywhere could do. All you need is unlimited imagination,” says Sue.
“If two housewives in Alice can make the Magic of Christmas, then so can anyone else in any other small town in Australia,” says Karen.
Karen further told me “We had so much fun doing it and seeing the faces of the kids was great!
“For me personally, I loved the fact there was somewhere Mums could take their kids on a hot day and not have to say no all the time. The relaxation on their faces was obvious – it was too demoralising visiting the air conditioned shops every day when on a tight budget so they appreciated the Magic of Christmas. Many returned several times!”
SO maybe there is a challenge to us all – set up our own tree festivals or complete Christmas displays like the Magic of Christmas!
BROWSE BY CATEGORY
- About Love Santa
- Baby’s first Christmas
- Children’s craft
- Christmas activities
- Christmas books
- Christmas cooking
- Christmas crafts
- Christmas gifts
- Christmas humour
- Christmas Lights/Decorations
- Christmas Memories
- Christmas spirit
- Christmas today
- Easter
- Green Christmas
- Happy kindness
- International Christmas
- Santa letters
- Santa Memories
- Santa’s snacks
- Christmas elf fun
- Uncategorized
Order Cut Off Dates
Please note that Love Santa letters need to be ordered before December 18 to be delivered before Christmas!
Order now to be sure of delivery before Christmas. Keep an eye on our blog for final ordering days as we get close to Christmas Eve.
Privacy Policy
Under no circumstances, not even under threat of having to fill in for Santa on Christmas Eve, will your details of any kind be given, sold or lent to any other party.

